So over this past weekend, I felt the New Year urge to tackle some home projects and I finally had the opportunity to use Mirth's very own Peel and Stick Wallcovering! I thought I would share my experience with the installation as well as some of the finished pictures of my bathroom. I chose our new Starburst pattern.
I started the project on Friday evening with lots of enthusiasm! I had never installed any type of wallpaper so this was all new to me but I had a pretty basic idea as to how to do it. I cleared off my 10' kitchen island so I had a nice big area to measure and cut then I went about the installation. I choose the least visible corner of the room to begin in case the pattern was not going to meet up exactly at the end. Then I was off with a bang! In no time I had several walls completed and truly was surprised just how easily it applied to the wall. A beautiful thing about our Mirth Studio wallcovering is that it is repositionable so you can always get a second try if you are not happy with the placement. Something to note: Make sure to be careful so that the backing does not stick to each other. I learned from experience that it’s not impossible, but hard to pull apart!

In only a couple of hours, most of the large walls were covered! Feeling accomplished, I decided to leave the smaller fragmented areas for the next day. The most tedious part did prove to be finishing off these areas. It took time to measure and accurately cut the last remaining pieces.
In under 5 hours, I had transformed my boring bathroom into something really spectacular and it was as easy as 1, 2, 3!
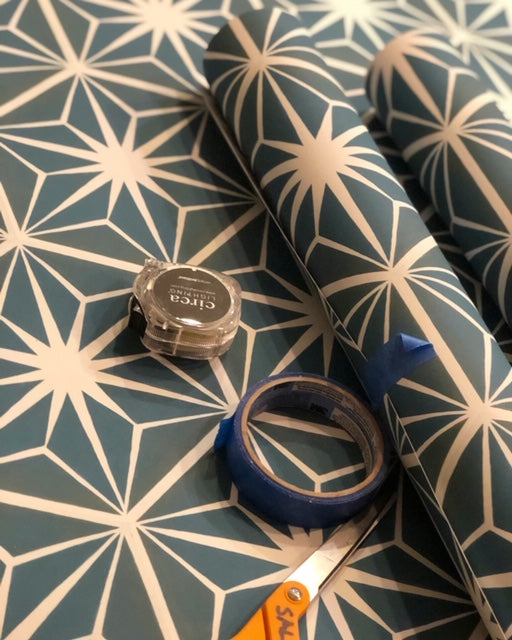
1- MEASURE AND CUT
2- APPLY AND SMOOTH
3- ENJOY!

A FEW TIPS FOR SUCESS:
1. Always start from the top of the roll so the wallpaper will always be installed in the same direction.
2. A mat knife, scissors, a tape measure and a straight edge will be a necessity.
3. I smoothed the bubbles out using my palm but a rubber spreader would’ve also been helpful.
4. I was super amazed at how the defects in the wall from a very poor paint job completely disappeared when the wallpaper was installed.
5. I did mix up some touch up paint to match the background color just for small touch ups (This can also be matched at a paint store)
6. I loved my decision to use a busy pattern, it helped to hide any oddities. I choose our Starburst pattern.

IF THERE WAS ONE NEGATIVE ABOUT MY INSTALLATION EXPERIENCE IT WOULD HAVE TO BE THE WASTE.
Our temporary wallpaper is made from a synthetic poly-blend with a repositionable adhesive so it comes with a silicone paper backing like many peel and stick products use. After the installation I ended up with quite a lot of the silicone paper backing. You can always keep it if you think you are going to remove it at a later date, but I really wasn't sure what to do with mine as I did not have any intention of removing it. After some googling, I sadly realized that the material is not something that can be recycled in the USA even though many other countries are able to recycle it. With Mirth Studio being an environmentally conscious brand, this really bummed me out.
After some thought and research, I discovered that we can actually recycle this ourselves by reusing it! I’m thrilled to announce that from now on, we will be sending prepaid envelopes with all our peel and stick purchases so that our customer can send the waste products back to us to reuse if they have no need for it. This way we can help keep the material out of the landfill.

Hope you enjoyed the post and until next time!

wow! i am so impressed that you are taking back and reusing the backing on your wallpaper. That stands out to me as a company that takes the environment seriously, and i can’t wait to buy a fixer upper one day and use all of your products. this bathroom makeover is stunning!
Leave a comment